
Paddling comfort can make the kayaking experience great but an ill fitting cockpit keeps my mind away from truly enjoying my pursuit.
I have changed many seats in kayaks that did not fit me and often the back band is part of the equation.
In some kayaks the back band is directly attached to the back of the seat (Valley) while in others it is independently suspended by straps or webbing on the side cheek plates or coaming.
The seat of the Point65North XP was too narrow for my ass and too high up front; I replaced it by fabricating a new wider one out of carbon fiber.
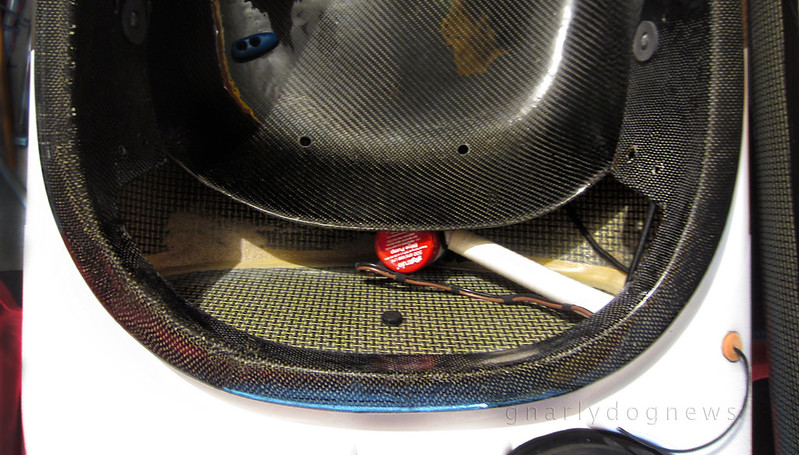
The bulkhead on the XP is really close to the rear of the coaming offering just enough room for an electric bilge pump.
I did not like the original back band that came from factory; it was cutting into the carbon fiber laminate on the pivot points. I also did not like the large plastic tabs digging into my hips.
In some of my kayaks I have installed a Immersion Research backband with a ratchet buckle/strap system (similar to snowboard bindings): I love the support and the low profile it offers still allowing me to do laybacks.
In this kayak the bulkhead was so close to the seat that I could create a backband out of foam and have it resting directly against the bulkhead.

In some kayaks I have made a pillar from closed cell foam that is nested and jammed between seat and bulkhead; in the XP is wanted to try a floating foam block to be able to access the bilge pump.
As a prototype I wanted to use cheap foam and some discarded packaging from electronic goods was good enough for my first try. I laminated two pieces by gluing them together with contact cement.

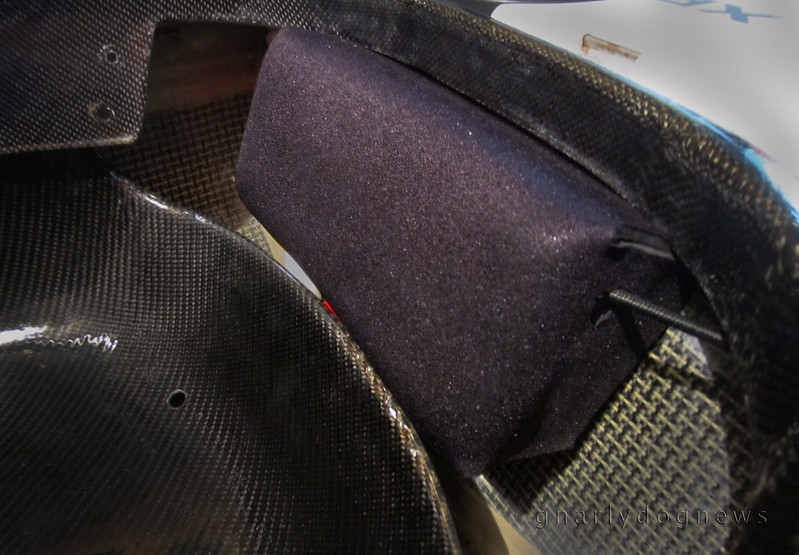
This type of foam is very easy to carve with a sharp kitchen knife and in minutes I had a nicely contoured backrest shaped to allow layback rolls. My intention were to test the foam back first on a longer paddle and see if it fitted OK.
After some minor reshaping following my initial trial I was happy with the shape of it.
Initially I planned to use high quality closed cell foam for the final product but this cheap foam was working well enough to not bother with higher quality foam, like the one in a block used for yoga.
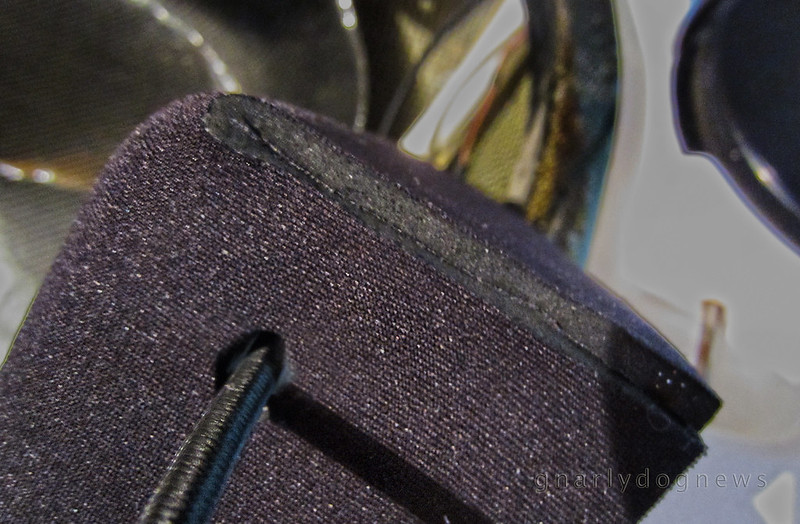
I just wanted to cover the rough surface with a bit of neoprene.
Again, I used contact cement to laminate the black neoprene.
I made a hole in the foam, the length of the block, to allow a bungee cord to secure it to the coaming of the kayak.
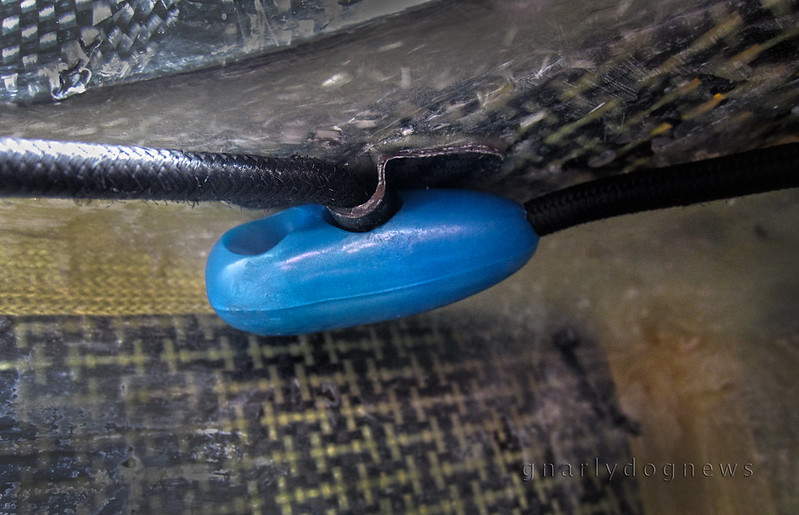
The bungee cord is attached to the underside of the coaming by little fiberglass saddles that I fabricated and bonded with epoxy glue. Alternatively small stainless steel saddles could be used instead.
I can tension the bungee with an olive cleat and while the backrest is firmly in place I can still access behind the seat to clear the pump from sand and debris.
The main advantage with this style of back band is that it does not end up under my butt when I enter the cockpit. I can slide from the back of the cockpit coaming rim and it will not get in the way, ever.
While some find the pod-style seats with no rear back band a great solution to this problem, I did not like that set up in one of my previous kayaks. I felt that I could not brace myself from sliding backwards when actively paddling and leg driving.
.


No comments:
Post a Comment
Thank you for taking the time to comment.
Because of spam received from unwanted manufacturers/retailers all comments are now moderated. Allow a few days for your comment to appear when the operators of GnarlyDog News are on safari.