
In a previous post I mentioned that I reinforced the under-deck thigh brace area surrounding the coaming where I had hairline cracks appear in the coaming-deck junction.
Adventuretess' kayak (and several other ones of the same make) had the crack develop at the front of the coaming.
It appears that the deck is a a bit weak there, where the tight radius of the laminate meets the coaming, flexes too much and the gel coat cracks because is not elastic enough.
A friend of mine repaired the same type of crack on his kayak by reinforcing the underdeck and inspired me to stiffen up Adveturetess' kayak too.
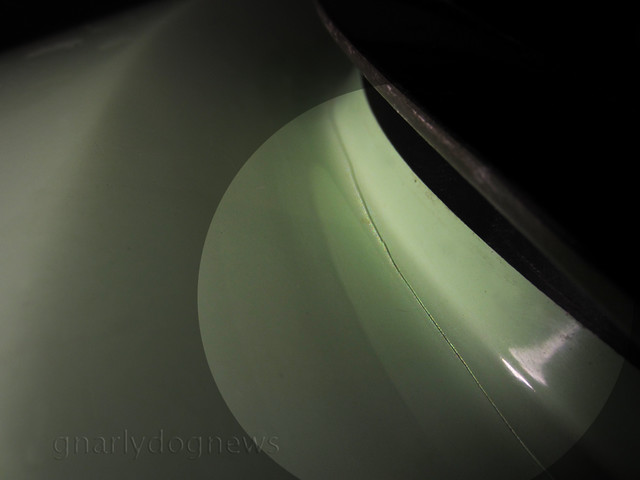
crack in the deck along the front of the coaming
I suspended the kayak on slings from the ceiling, turned it upside down and brought it to shoulder height; it is much easier to work inside the cockpit of an elevated kayak than bending over on the floor.
I made sure that the area was first thoroughly washed with fresh water, dried and then cleaned with acetone. I inspected the laminate but it didn't show any cracks in the fabric.
For the reinforcement I used scraps of carbon fibre cloth (unidirectional and woven), but quality fibreglass cloth could have been used instead; carbon fibre is just a bit stiffer.
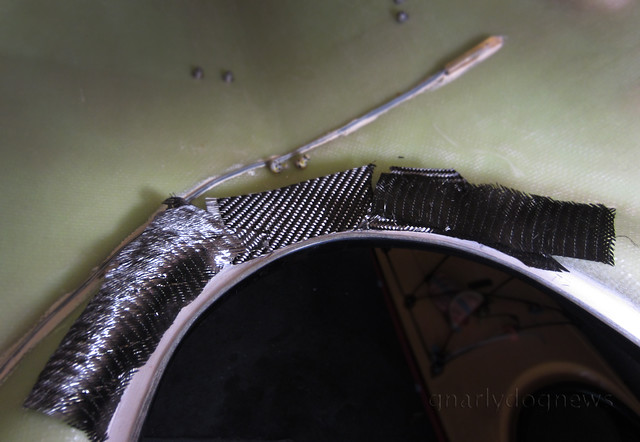
(wire and reed for magnetic switch showing)
I chopped the cloth into short strips so they were easier to lay around a curved shape. I used several layers of carbon cloth, overlapping. I exclusively use West System epoxy for my work and for this area, exposed to daylight, I mixed 105/207 since it's UV stabilized. Epoxy allows me to work in small batches, does not produce too many toxic fumes and has excellent adhesion to most composite laminates.
I often hear that paddlers are scared to use resins and do their own repairs. Mixing epoxy is dead easy and is feels like watery honey. If you clean the area to be repaired repair well and keep the work tidy a job like this one is not more difficult than smearing honey onto a cloth, really.
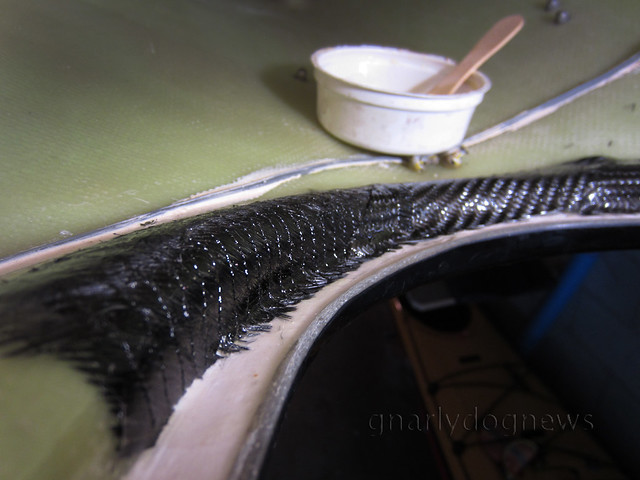
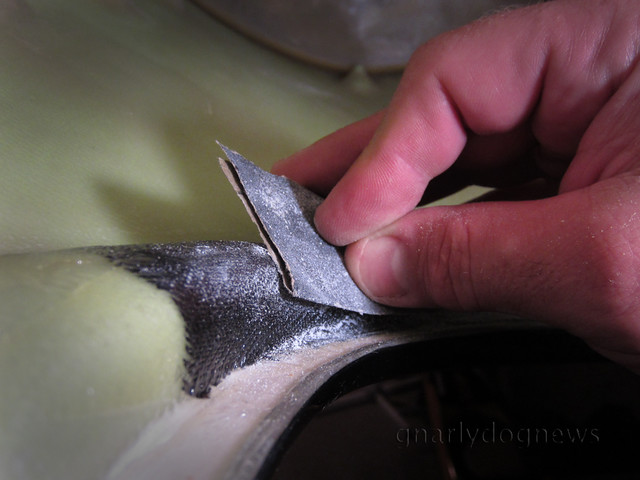
I saturated the carbon cloth making sure there was enough resin against the kayak deck, pushing the fabric into the tight curve of the under deck. I finished the repair with a top layer of fine fibreglass twill cloth to create a smooth surface while absorbing possible excess epoxy.
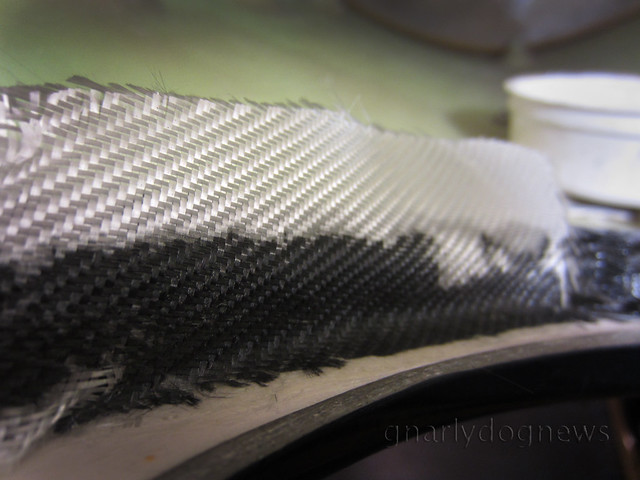
Top layer of fine fibreglass. Resin only partially saturating the cloth.
After all the layers were saturated (white fibreglass becomes transparent) I cleaned up any spills on the exterior of the coaming with methylated spirits (alcohol).
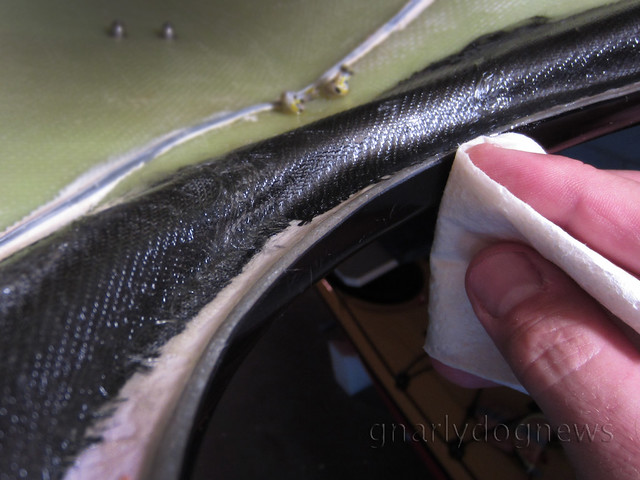
I left the epoxy cure for 24 hours (25C temps) and then smoothed any fibreglass spikes with sandpaper.
I am not sure if I will repair the cosmetic hairline crack on the outside of the deck since I don't have the factory matching gel coat from Valley. It takes a fair amount of trial and error to mix up the perfect tint to match the color.
The deck now feels very solid and the hairline crack does not expand when pressure is applied.
.


If its a crack and open,water will get in and the rotting process will start.All your good work will go to waste if you dont seal the crack.
ReplyDeleteGages,
ReplyDeletethank you for your advice and the offer to send me the closest color match of gel coat.
I will try first myself, with the help of Greg Schwarz, to mix up the right color; Greg has already extensively repaired his Avocet LV of the same color and might even have some gel coat left over.