.jpg)
SeaBird Designs NorthSea: stern modified
Of the modification I have done to my kayaks, this one certainly was the most daunting one: modify the hull!
In my early days of paddling I quickly understood that the shape of a hull in a kayak is detrimental to its handling.
While kayak designers often spend years perfecting the hull shape I don't always find their designs perfect.
I have very little knowledge in naval engineering (read: about zero) but I can feel when a kayak is not performing the way I desire.
My first attempt to fix a kayak that was in my opinion "too loose" was simple: I added a little fin (fixed skeg) to the stern. The kayak improved dramatically.
Apparently modelled on a Nordkapp hull (probably an early version) the stern on the Arctic Raider seems to be cut away more than the current hulls on the VCP Nordkapps.
The Arctic Raider is designed to be paddled with a rudder.There is less keel on the stern.
The Arctic Raider weathercocks really strongly when the rudder is not deployed (like when surfing).

Arctic Raider
Adding the fin helped to the stern from laterally drifting when windy stabilizing the stern.
On my Seabird Designs NorthSea carbon/Kevlar core sea kayak I had the opposite problem: the boat leecocks.

SeaBird Designs NorthSea before the mods
Originally designed to be used with a rudder I removed it and installed a skeg.
The NoprthSea paddled very neutral in low winds but became a bit of a handful in high winds.
Above 20 knots the bow will turn downwind and it was hard to maneuvre.
However the kayak will surf very well: no broaching there.
I moved the seat forward and that changed the trim a bit and made it OK to paddle.
Maneuverability however was still slow: edging the kayak would not release the deep keel line in the stern.
I finally decided to modify the hull.
How much should I modify my stern?.... hard to say/quantify.
I worked out a rough estimate (modelling it on the design of my other kayaks) and marked the stern with tape.
.jpg)
Once I was confident that the cut line would be appropriate I fired up my Dremel tool and took the plunge: hacked into the hull.
.jpg)
It took only a few minutes to cut away the section from the stern.
.jpg)
I made sure that both sides were symmetrical and cut even.
.jpg)
I then cleaned all the dust and any possible salt residues from the surface inside the hull to make sure my epoxy glue would stick to the existing surface.
I mixed up some West System 105 resin/207 UV stabilized hardener mix, tinted it to match the hull color and added microfibre to the consistency of peanut butter.
I generously filled the gap that I created by cutting of the stern with this epoxy mix.
I used tape to reduce the gap: squeezed the hull sides by hand and applied tape to hold the new shape. Surprisingly there was not a lot of tension on the tape.
.jpg)
Once the epoxy glue cured (overnight) I removed the tape and filled the remaining gaps (left by the tape area) with more epoxy mix.
Shaping the final fine keel line was relatively easy with some sand paper.
A smooth finished was achieved with a last coat of clear 105/207 mix.
PIC to come
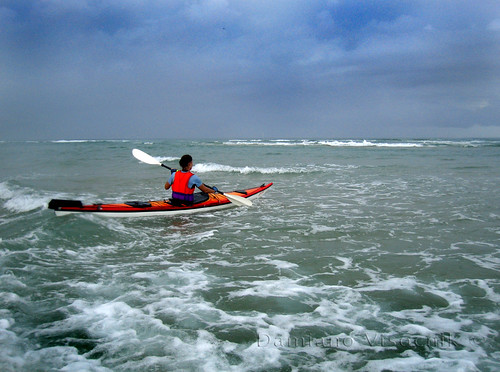
I tested the new stern shape of my SeaBird kayak over the weekend.
The wind was ideal (up to) 20 knots and the kayak was lightly loaded.
I could definitely feel the stern being more loose now.
In beam winds it finally would weathercock slightly.
I paddled along a Norkapp LV and about the same amount of skeg was needed to correct weathercocking.
While I had no chance yet to test the kayak fully unloaded (I had about 20 Kg of gear with me over the weekend) it appears now to be handling much more like my other British style kayaks.


This is fascinating stuff. I have found that my Cetus does well with just a titch of skeg down. I have often wondered if it would not work to just add a tiny "fin" to the aft part of the keel, somewhere where the rocker would keep the appendage from being damaged in surf landings. I wonder, too, how much this would reduce the wonderful maneuverability of the boat. I have considered strapping on some temporary device first to see how it works. Thanks for a great piece here.
ReplyDeleteSilbs, I believe that a well designed kayak hull should allow for just a bit weathercocking in light beam breezes (10 knots) and consequently a bit of skeg would correct that.
ReplyDeleteHowever you can try to make a little fin that you can temporarily attach to the hull of the Cetus. I have done that to the Arctic Raider.
I made mine from thin “T” shaped anodized aluminum profile because it was easy to cut and bend to shape.
I attached it with polyurethane construction goop and it held on for years. If necessary, it could have been easily removed with a spatula with no damage to the hull.
To replace an fixed skeg with an retractable skeg as you do, is obviously on many boats. The hardest point I think is to take the disicion and make the first cut.
ReplyDeleteWill it leak?
Will in funktion the correct way.
Comparing the Nortsea with the Nordkapp it is the only major difference